I shall assume that you have managed to install Code::Blocks and the Fortran compiler in your laptop or computer. Now I will show in a series of short write-up after this on how to use the Code::Blocks to write a simple Fortran program.
Let us get straight to the task. You will launch the Code::Blocks on your computer. To start writing a program, you will need to have a project environment. Here is what you need to do.
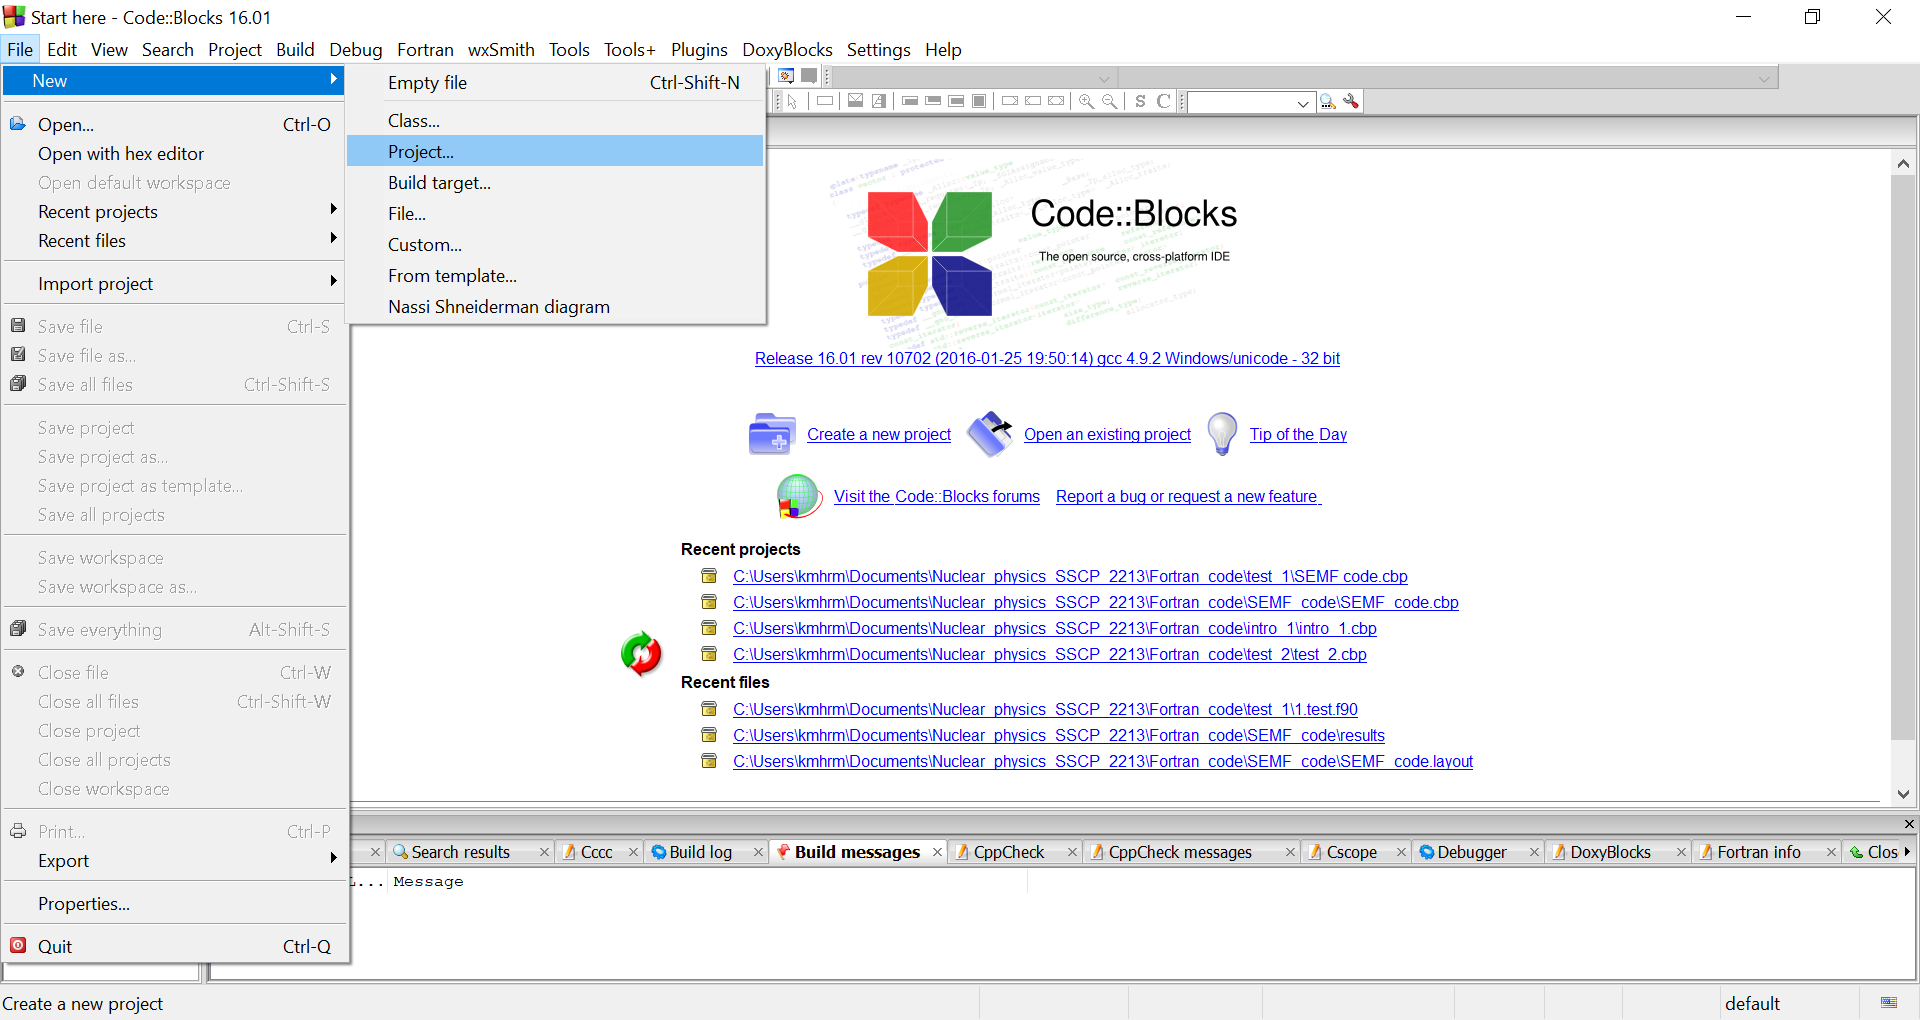
- Go to “File” on the top left corner of your screen
- Click on “New” and go to “Project”
- Next, click on “Fortran application” and click on “go”.

- You will be lead to an application wizard. Click on “Next”.
- In the next step, you will decide on the project name and the directory in which you want to save the work. For this practice, we shall name the project as “Fortran_practice_1”. After deciding on the directory, click “Next”.
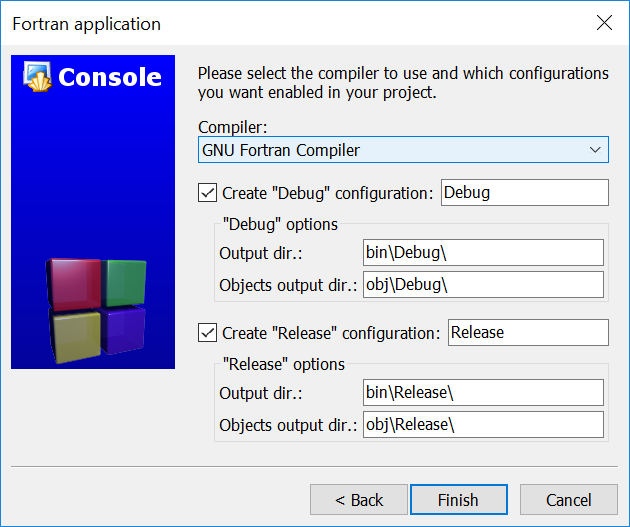
- In the next page, click on “GNU Fortran compiler” under the list of available compilers. Then click “Finish”.
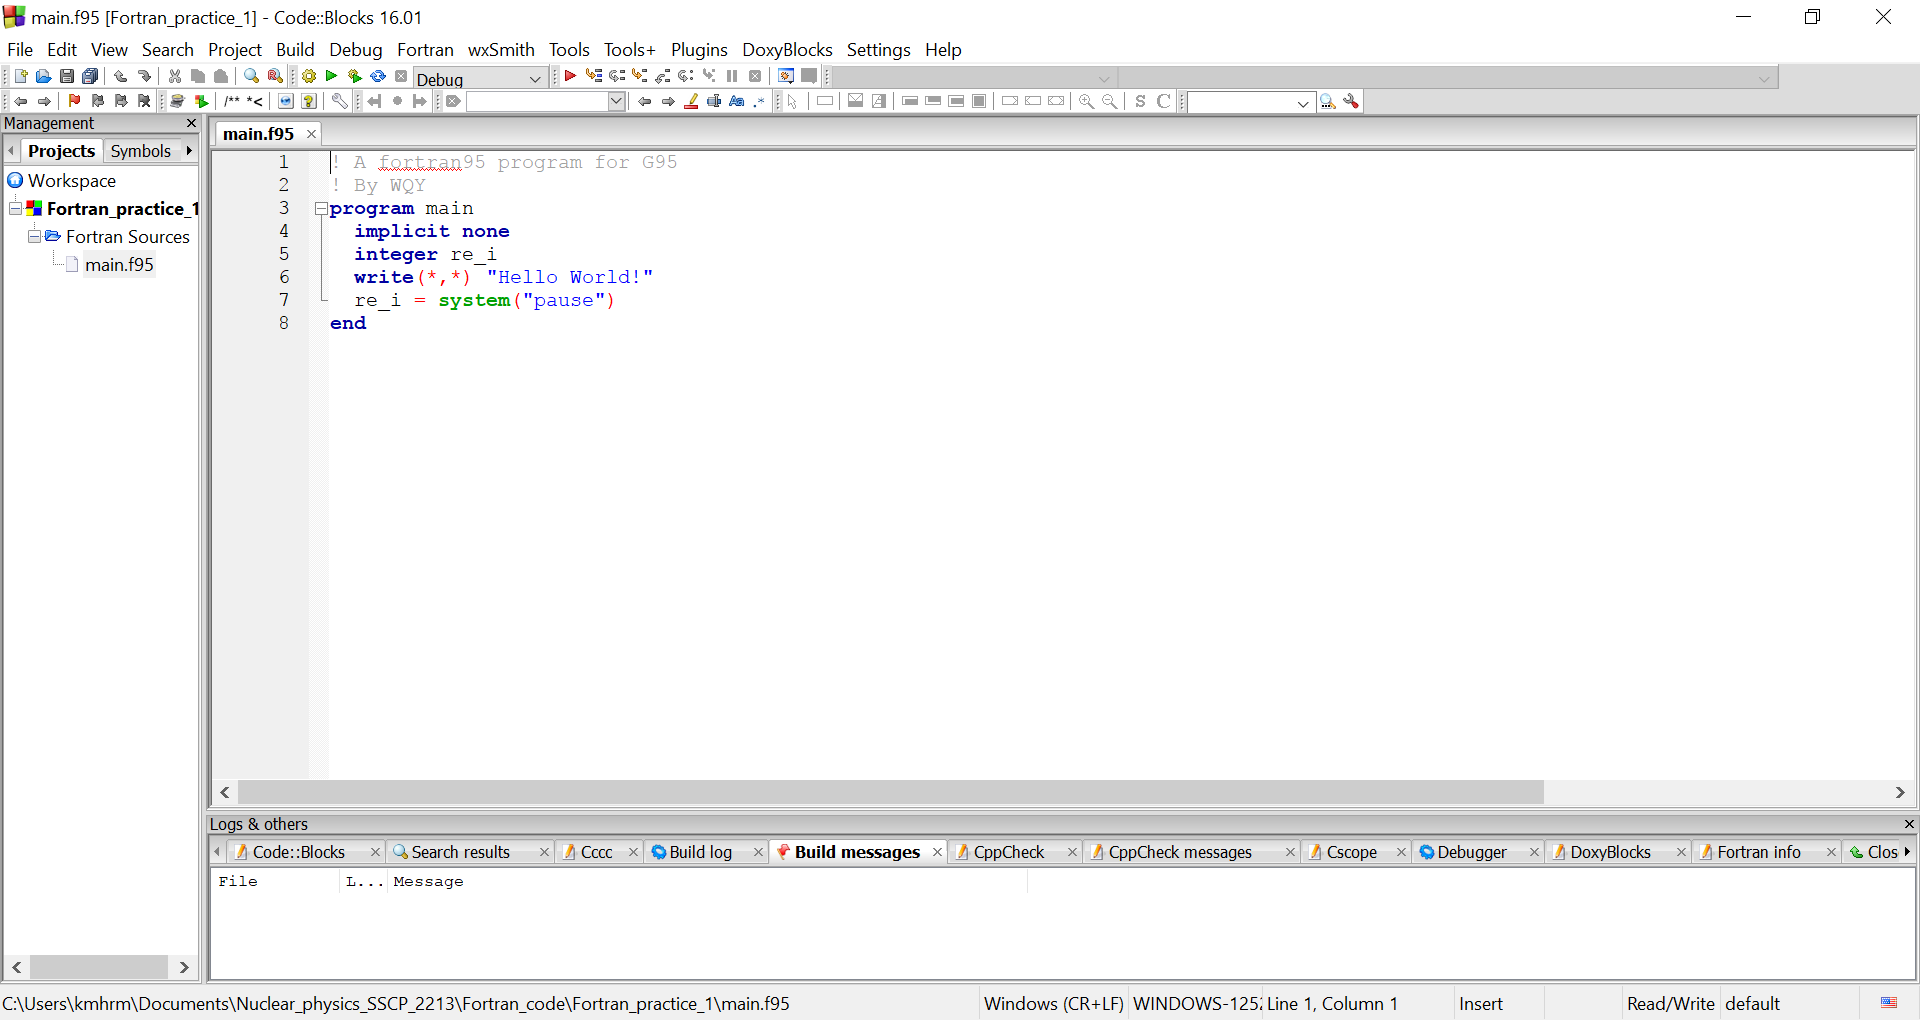
- The template for your new project will then be ready. On the left-hand side, you will see the name of your project “Fortran_practice_1”. Under it, you will see “Fortran sources”. Click on the “plus” sign and there you will have the file “main.f95”.
Up to now we have look at how to create new project in Code::Blocks. In the next post, I shall show you how to run a simple Fortran code to print some messages.