Let us resume from where we left off previously. To open the project which we have created, go to “File” at the top left corner of your screen and click on “Open”. Go to the directory of the project. You will see something like the image below.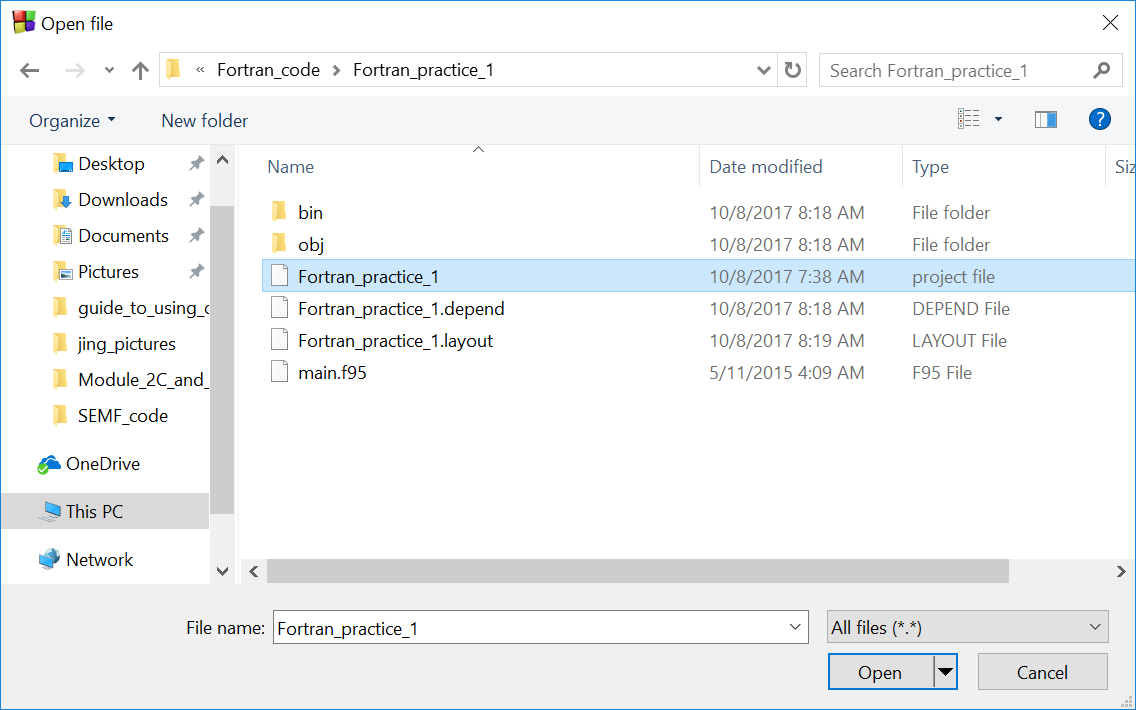
Click on the project file and the click open. You will then see the main.f95 code which has been automatically created when we create the project file previously.
For our first example here, I will make some changes to the existing main.f95 code. The code looks like this.

After you have update your own main.f95 file, you will then run the code. Here is the sequence in which you will do to be able to run the code.
- Look for the “Build” tab at the top of the screen. Click on it and you will see the following.
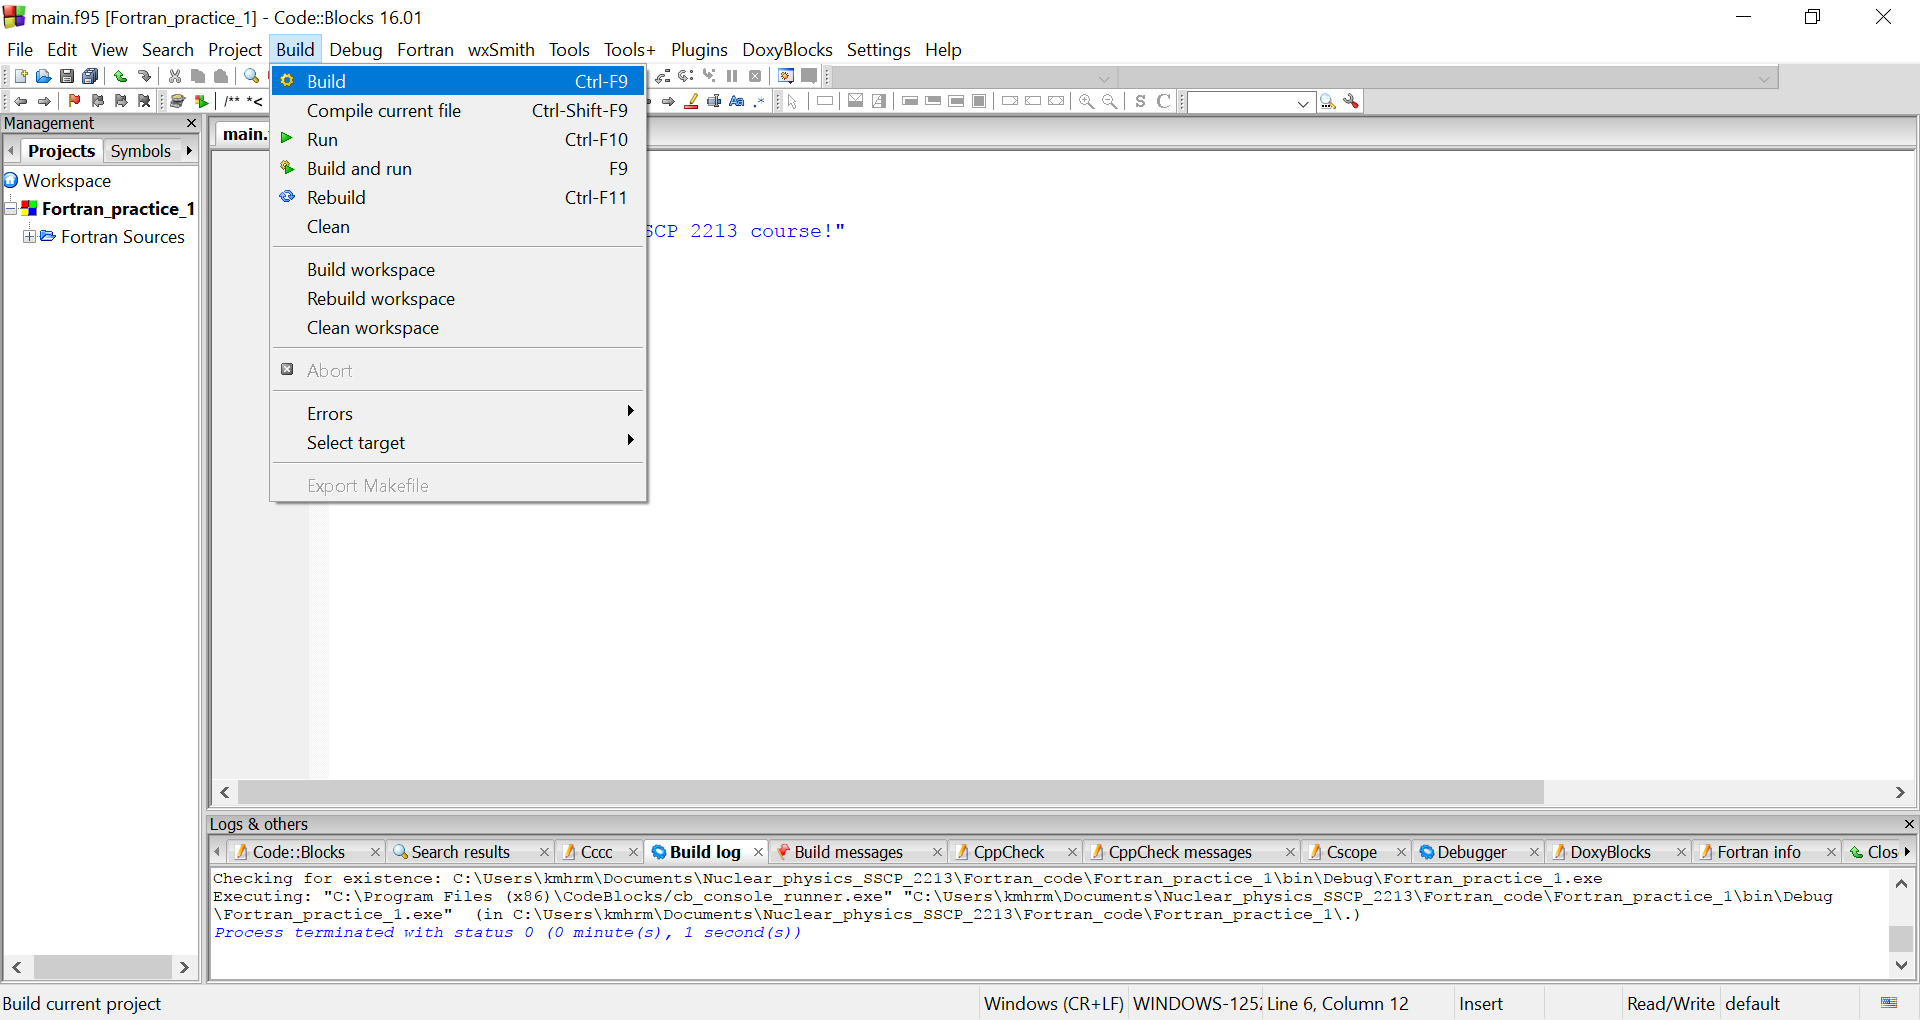
- Next, click on “Build” under the “Build” tab.
- After the build process has been completed, you will then compile the code by clicking on the “Compile current file”.
- After the compilation step is completed, you will click “Run” and you will see the following message appearing in the terminal.
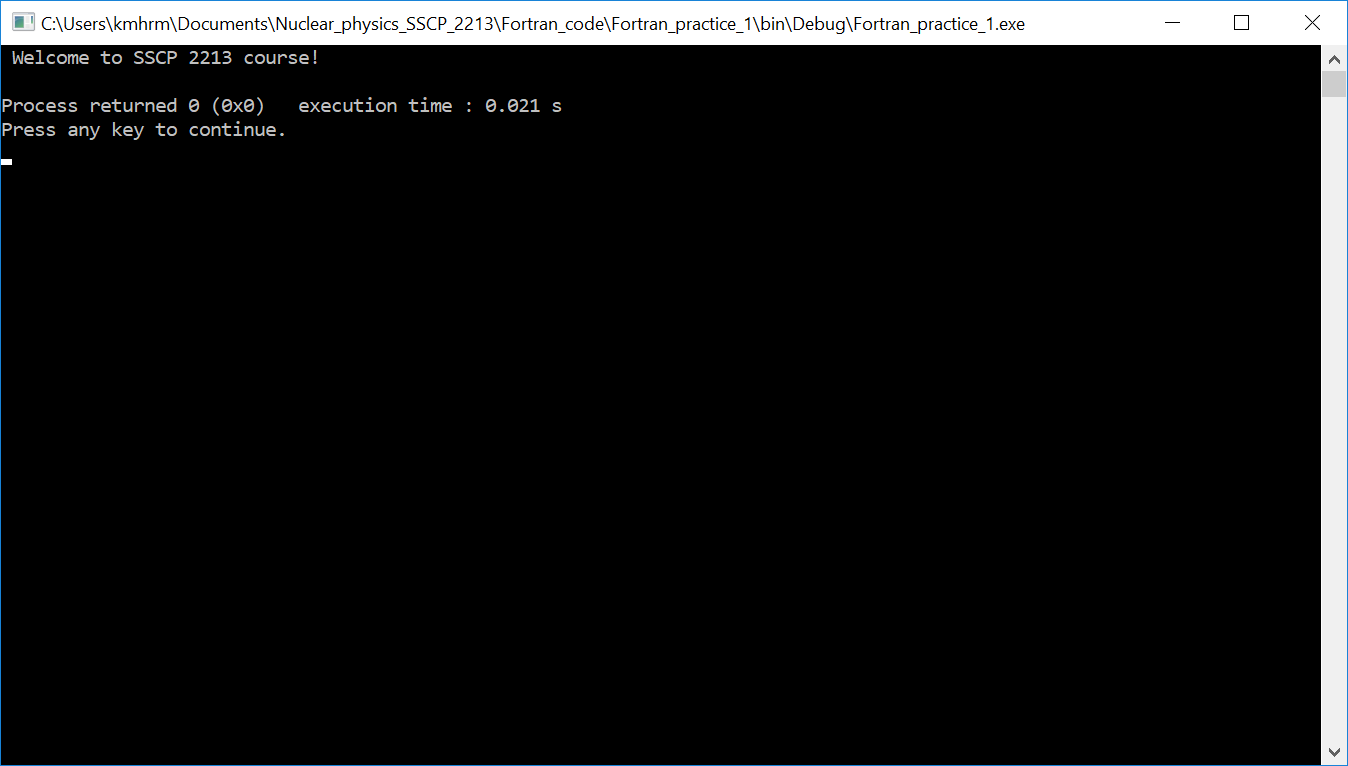
Once you managed to obtain the message on the terminal, you have successfully run your Fortran code. Yeah!
Before we end, I would like to show that we can make use of either a write statement or a print statement to print a message on the terminal. For this, I will put the symbol ” ! ” in front of the write statement. This will make the line inactive and the compiler will ignore this line. Next I add a print statement as you can see below.
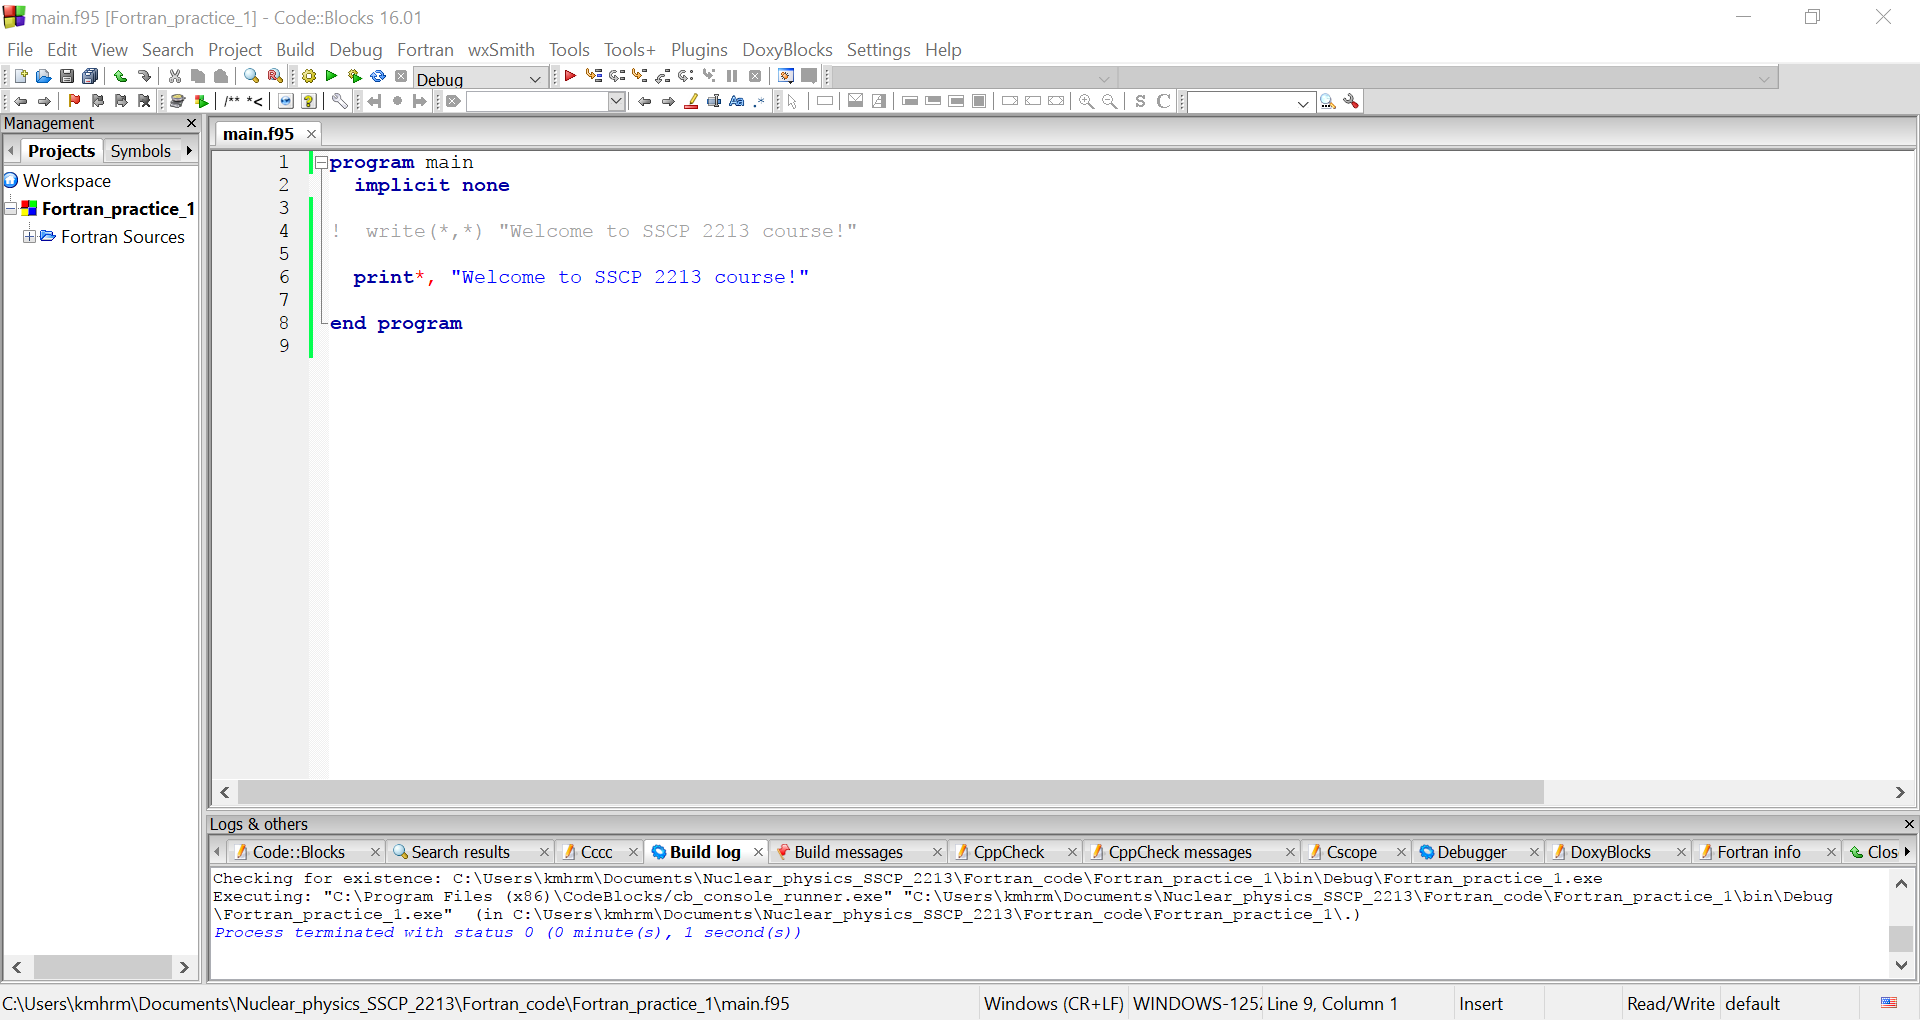
After clicking on compile and run, you can see that the same message will appear on the terminal. Here we see that the print and write statements can be used interchangeably to print message (or values) on terminal. However, we can write messages or values into a specific file using the write statement. We shall cover this in the next discussion.