This tutorial is assuming that you are working off a pre-made layout of your page and will show you how to update modules.
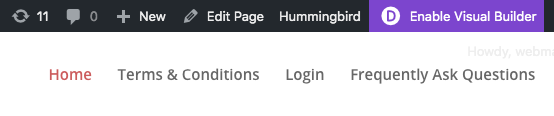
ENABLE VISUAL BUILDER
Once you have logged into wordpress, click on the Enable Visual Builder option at the top of the page in the WordPress bar.
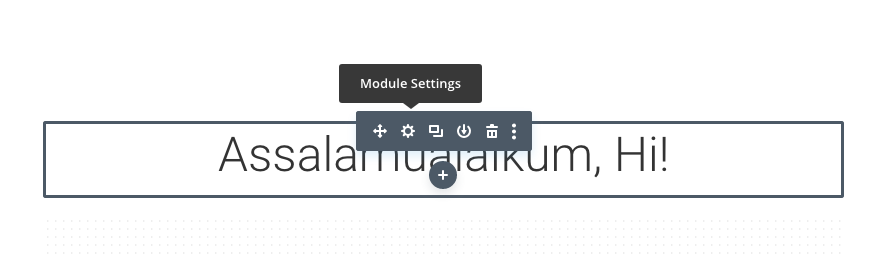
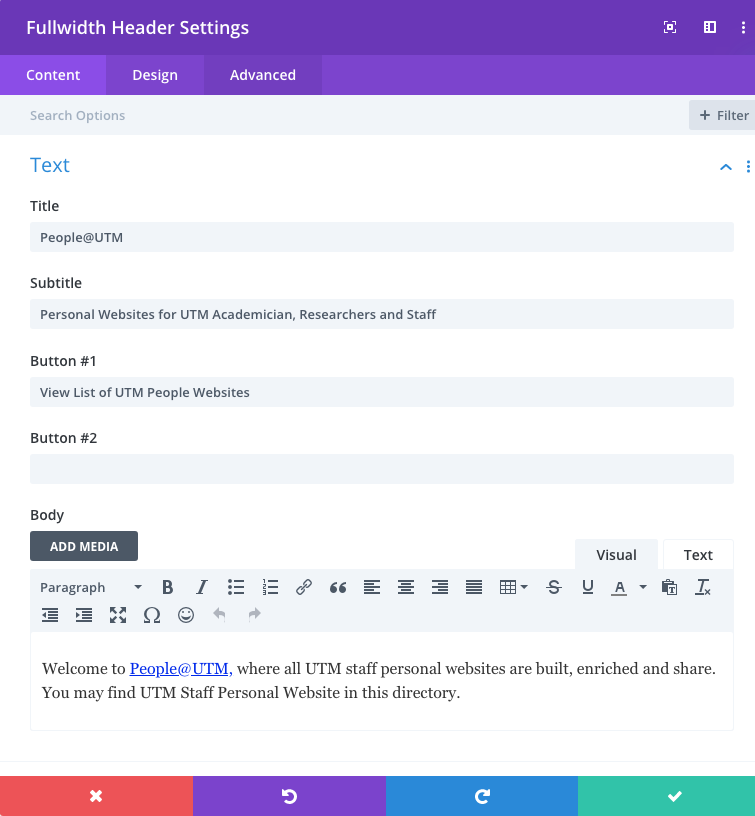
EDIT TEXT
Click on the Module Settings (gear icon) to edit your existing text.
You can even make formatting changes like text alignment, colour and font.
To save your changes, click on the green box with the tick symbol at the bottom of the page.

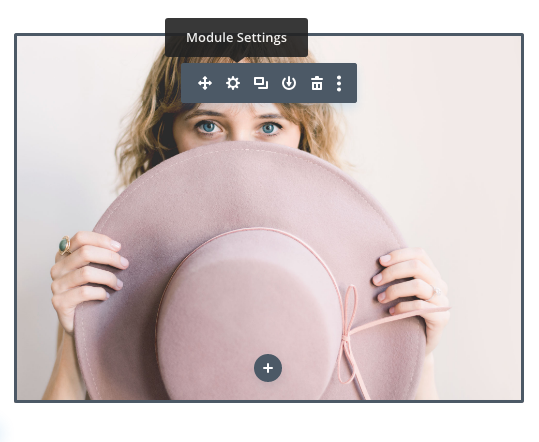
INSERT IMAGE
To replace an image, start by hovering your mouse over it. A grey panel should appear with some icons inside it.
Click on the Module Settings (gear icon). This will open a new panel with settings related to this specific element.
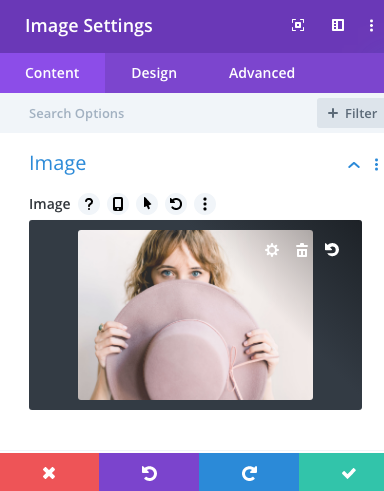
In this Image Settings panel, look gear icon on the image.
Choose an image by click on the Upload an Image tab and click the Select Files button to upload a new image from you PC then click the Upload an Image button on the bottom.
Finally click the green box with the tick symbol to save the new image.