Previously, if you want to capture a screen (or do a screenshot), you do it the hard way. You click the Print Screen button and them paste it into say MSPaint or the likes. Then you crop what you want from the whole screen pictured. Snipping Tool, in my opinion, is very very easy and comes very handy.
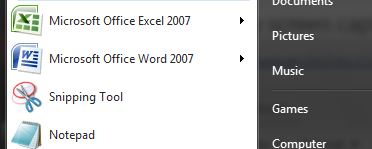
In nearly all newer versions of Windows (at the very least Windows 7 and up), you can find this amazingly helpful tool. You can find it easily through the search functions, just type Snipping Tool. Or if you are a frequent user like me, it will be in your Start Menu.
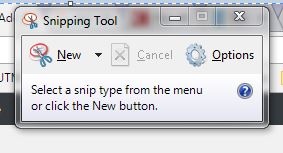
When you click on the icon, you will get a small ‘toolbox’ (if you may), to start your snipping adventure. It will look like this.
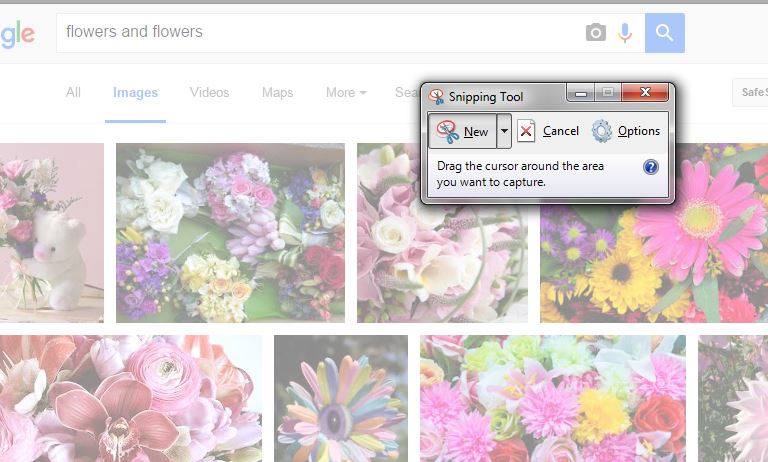
To start snipping a shot of the current screen, or any portion of it, just click on New. When you click on that button, the background will dim slightly, like so.
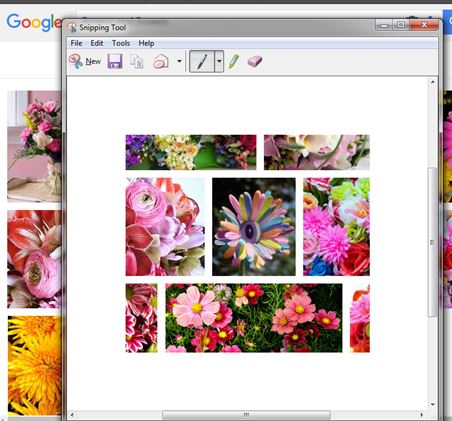
You will then get a cursor, which you can click, hold down and drag to cover the portions of the screen you want to snip (or capture). You get a boxed frame of the region to snip. Alternatively, you can edit this frame to be rectangle or free-form. When you lift your finger (and release the hold of said cursor), you will get a preview of what you just snipped.
If you are happy with it you can copy the image somewhere else, like a word document or a powerpoint slide. You can also save the file for later use. If you are not happy with it, just click New again and restart.
Simple! Happy snipping.


