As we know, MQTT is some protocol used for IOT today. There are 3 components involved in MQTT:
- Publisher – It will read the temperature value and publish over the topic such as “temp”
- Broker receives the temperature value over a topic such as “temp”. Then, its immediately distributes / sends the value to all the subscribers of the topic “temp”.
- All the subscribers of topic “temp” receives the value.
In this tutorial, we will learned on how to install and run MQTT mosquitto broker on windows 10. Credit to this website:
https://medium.com/@shikhar022/steps-to-install-mosquitto-broker-on-windows-10-aec2141d962c
ITEM NEEDED
-
- Please download Mosquitto cygwin build from here
- Please download Windows XP build from here
- Then, extract the Windows XP build into a specific location in to your system.
- Run the Mosquitto cygwin build (from step1) for installation, it will fail the first time but don’t worry, everything is fine, keep following the steps
- Now go to the extracted version of XP build (from step 2) and find the following files:
cygcrypto-1.0.0.dll
cyggcc_s-1.dll
cygssl-1.0.0.dll
cygwin1.dll
cygz.dll
libeay32.dll
libssl32.dll
msvcr100.dll
pthreadVC2.dll
ssleay32.dll -
Copy the above files from XP build to the installation directory of Cygwin build which failed in step 4, by default mosquitto will install itself in C:\Program File(x86)\mosquitto.
-
Now run the cygwin build exe installer again. It will run normally this time. click on Finish.
- Run the CMD as administrator. Find the location folder of mosquitto. For example: c:\Program Files\mosquitto>
- Run the mosquitto.exe. c:\Program Files\mosquitto>mosquitto.exe
10. To check where it run or not can type: mosquitto -v and the output will be like picture above.
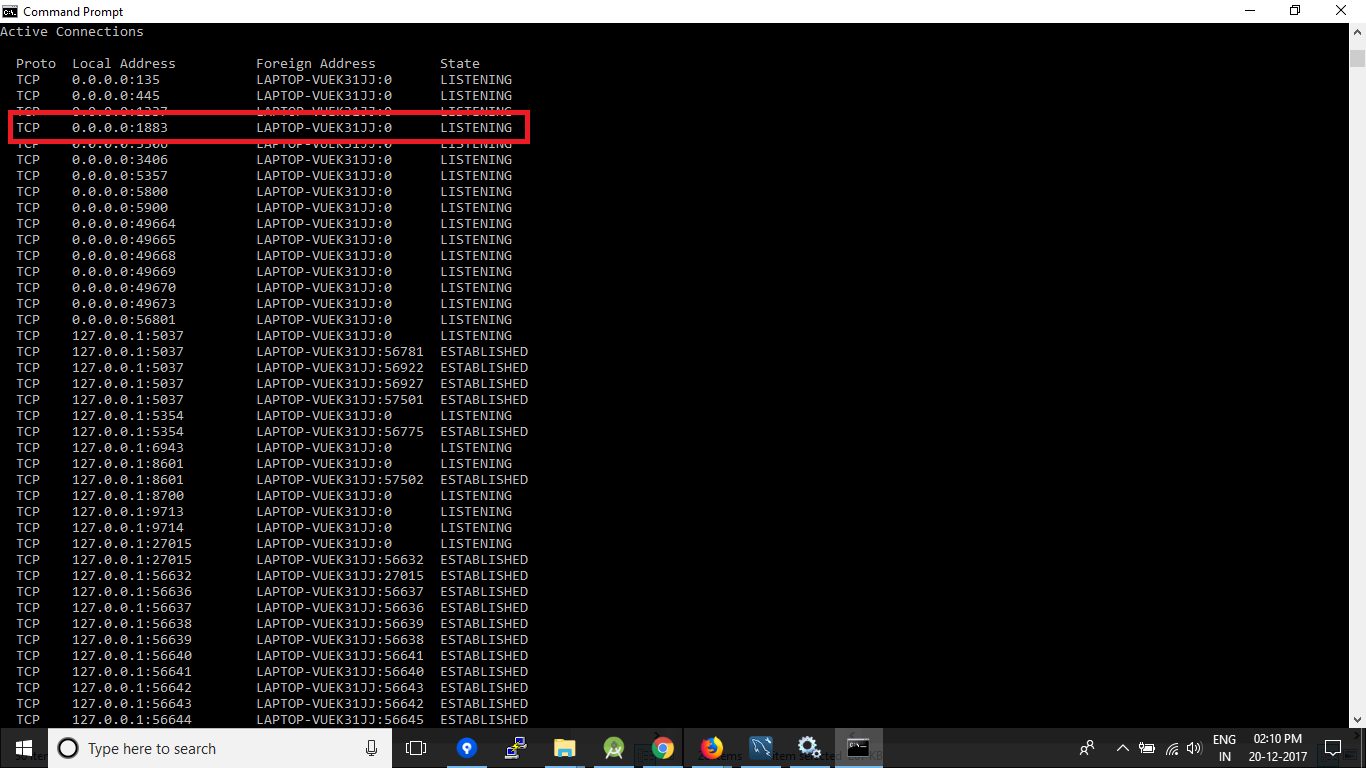
11. We also can check by type: netstat -a (command to find out which all ports are running in the system)
If everything is working fine, you should be able to see the following output:

11. Done

