We can utilise the UTM e-learning to create an online carry marks (exclude final) of student that registered for a subject in current semester. Lecturers can publish all student’s carry marks online so that students can know their marks easier and faster anytime. Lecturers can also write personal feedback of each assessment for each student if needed. Advantage for student, they can only view their own marks and feedback privately.
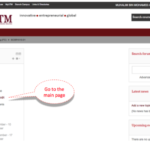
Here are some steps can be followed to do it.
-

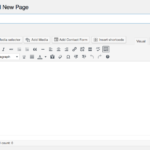
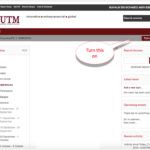
- Step 1a: Turn editing on
-
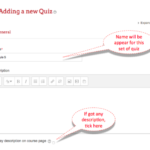
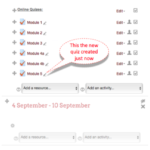
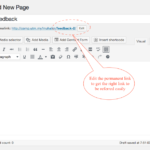
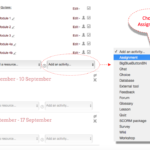
- Step 1b: Add activity
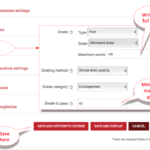
-
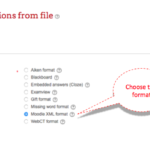
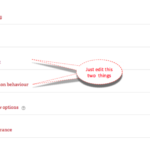
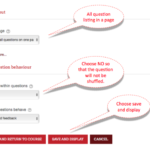
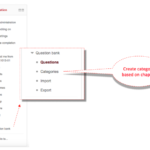
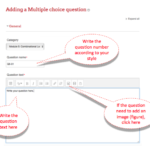
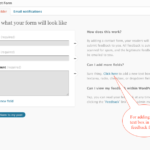
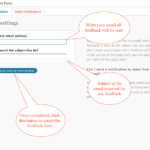
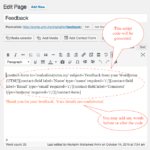
- Step 1c: Setting

-
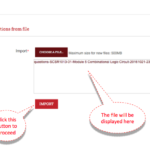
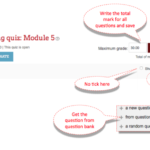
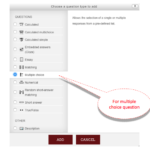
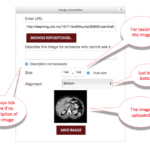
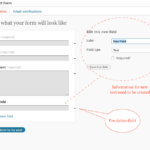
- Step 1d: Setting 2
-
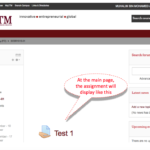
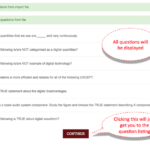
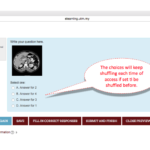
- Step 1e: Assignment published