One of my friends told me that using Jamboard is easy and we can see students “interact” with each other when they post their ideas. It is like having a digital mahjung paper. But in this case, we don’t need a physical paper, but digital “paper” i.e. computer screen.
So, how to use Jamboard? If you google it, you will find Google Support website.
But being me, I need some visual (pictures).
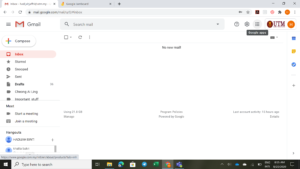
1. Log in to your google account (need to do this first).
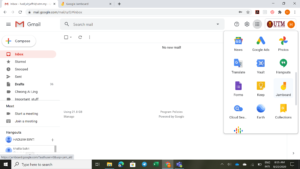
2. At the board, tap Menu (with the dots), select Jamboard settings (you need to scroll down a bit).
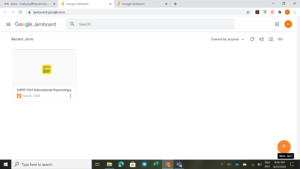
3. Create or open a jam (the term used for the board is Jam), click the Plus icon (bottom right).
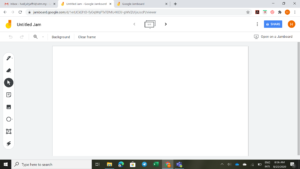
4. On the toolbar (left side), you will see variety of options:
- Pen
- Erase
- Select
- Sticky note
- Add image
- Circle
- Text box
- Laser (if you use Google Meet – synchronous session)
5. You may start the task/question that you want to assign the students to work on or answer by using the options available. As a start, I use Sticky note.
6. Once you have completed with the task/question, you can share the Jam with your student. Click SHARE button (the blue button on the top corner – right side). You may need your students email account to share the Jam with them.
For more information, you may watch a video about Jamboard on Youtube. I like this video. How to Use Google Jamboard for Remote Teaching


